Articles, Growing, Germination
Cannabis Germination Guide: For Every Method
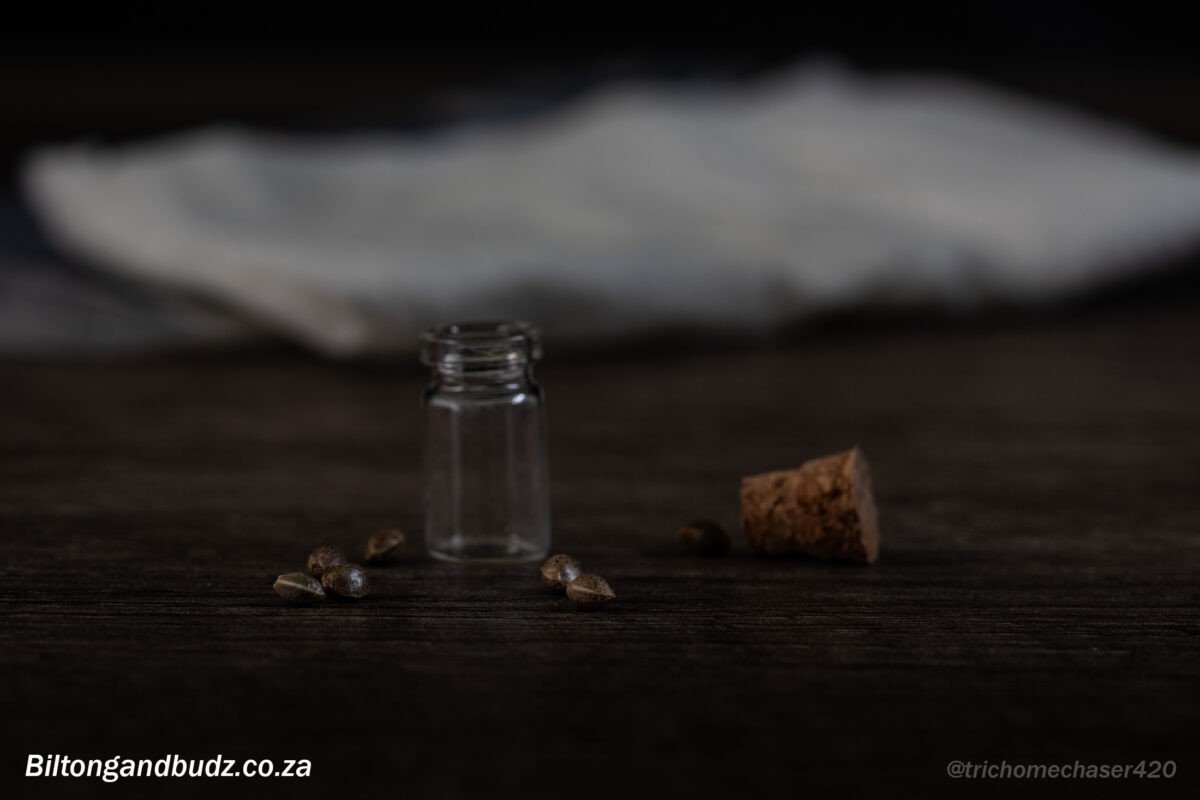
Germinating seeds can be tricky, especially for newer growers. However, it’s not just new growers who sometimes encounter issues, even experienced growers can become complacent about their process. We understand that having a failed germination sucks, it’s money you’ve spent expecting a result that you didn’t get.
Our goal is to help you increase your germination rates, even those of older or more sensitive seeds. Keep reading as we dive into cannabis germination and run you through the essentials.
Environment Matters: These Three Things Are Essential To A Succesful Germination
Should You Follow Only One Germination Method?
While we have historically recommended the paper towel method, it’s important to note that there are a lot of different ways to germinate cannabis seeds, and the one you’re most comfortable with and have the most success with is always the one you should use, especially if you’ve already tried the others.
Keeping that in mind, this germination guide will explore some of the most popular methods, giving tips to ensure the highest possible germination rate across these methods.

The Paper Towel Method
The paper towel method is one of the most common ways to germinate cannabis seeds. It’s affordable, easy to do, and has a great success rate when done correctly.
Benefits
- Easy to watch the germination process unfold and identify issues early on.
- Doesn’t require a lot of space.
- Affordable.
- Not very prone to overwatering unless saturated.
Challenges
- It can take time to get used to the correct moisture level.
- Ensuring clean hands and tools is essential to avoid transferring pathogens onto the paper towel.
- Tap roots can cling to the paper towel if left too long.
Step-by-Step Guide To Paper Towel Germination
- Step 0 (Optional): Soak the seeds in pH 5.8 to 6.5 water for between 6 and 16 hours.
- Step 1: Wash and rinse hands thoroughly.
- Step 2: Take 2 sheets of clean, uncontaminated paper towels and fold them in half.
- Step 3: Pour between 15ml and 20ml of water onto the center of them and ensure they are moist but not soaked. Squeeze the paper towel a bit to ensure it’s not saturated.
- Step 4: Carefully place the seeds a few centimeters apart in the center of the paper towel and fold it over to form a sealed area of darkness and moisture around the seeds.
- Step 5: Place the moist paper towel inside a ziplock (I recommend the larger sandwich bags). If you’re using a small ziplock, leave a small area of the zip unsealed to let small amounts of air in, while retaining high humidity. If you use sandwich bags, they can contain enough oxygen to fully seal.
- Step 6: Check on the progress every 24 to 36 hours, and if the paper towel starts to dry out, add a small amount of water to it (around 10-15ml) around the seeds. The seeds should germinate within 72 to 96 hours, often sooner.
Common Problems You May Encounter With This Method And How To Avoid Them
Although the paper towel method is a solid choice and a go-to for many growers, like all methods some problems can arise, after all – there are never any guarantees. Here are the ones you’re most likely to run into and how to avoid them.
Drowned Seeds
A common mistake is to soak the paper towels until they’re wet, instead of moist. This is especially dangerous when the paper towel is pressed tightly against the seeds, as less oxygen can reach them.
To avoid drowning the seeds using the paper towel method, ensure it isn’t soaking wet, just moist.
Contamination
If you just got done working in your kitchen or garage, give your hands a thorough cleanse before working with the seeds or the paper towel. A warm, moist environment is great for seeds, but it also allows bacteria to thrive. Even just a small contaminated area can cause problems, as the spores propagate alongside the seeds and cover a larger area.
To avoid this, wash AND rinse your hands thoroughly, removing both contaminants and soaps. Also store your paper towels in a tidy area, ideally in a sealed container.
Paper Towel Drying Out
Sometimes germination can take longer than expected, or conditions may be hot enough for the paper towels to dry out quickly.
Check on your paper towels throughout the process, at least once every 24 to 36 hours to make sure it’s still sufficiently moist. If it’s not, rehydrate with about 15ml of water just to ensure the seeds have a steady source of moisture around them.

Direct In Soil Method
Another popular method of germination is the most natural of approaches, where the grower plants the seed directly into the soil or other potted medium (such as coco coir). Although it is the closest to how it happens in nature, one should keep in mind that only a fraction of seeds that fall onto the ground end up growing, and nature’s successes are largely in part due to a buckshot approach.
Benefits
- Almost effortless.
- Less root stress/shock.
- When planted into soil, the seedling has fast access to nutrients.
- Quickly able to establish a strong root system.
Challenges
- Easy to overwater
- Success varies a lot depending on the quality and makeup of the soil.
- pH monitoring becomes more essential.
- More challenging to maintain an ideal environment (depending on your space and setup).
- Prone to pests and pathogens, which can cause problems for seeds.
Step-by-Step Guide To Germinating Directly In Soil
- Step 0 (Optional): Soak the seeds in pH 5.8 to 6.5 water for between 6 and 16 hours.
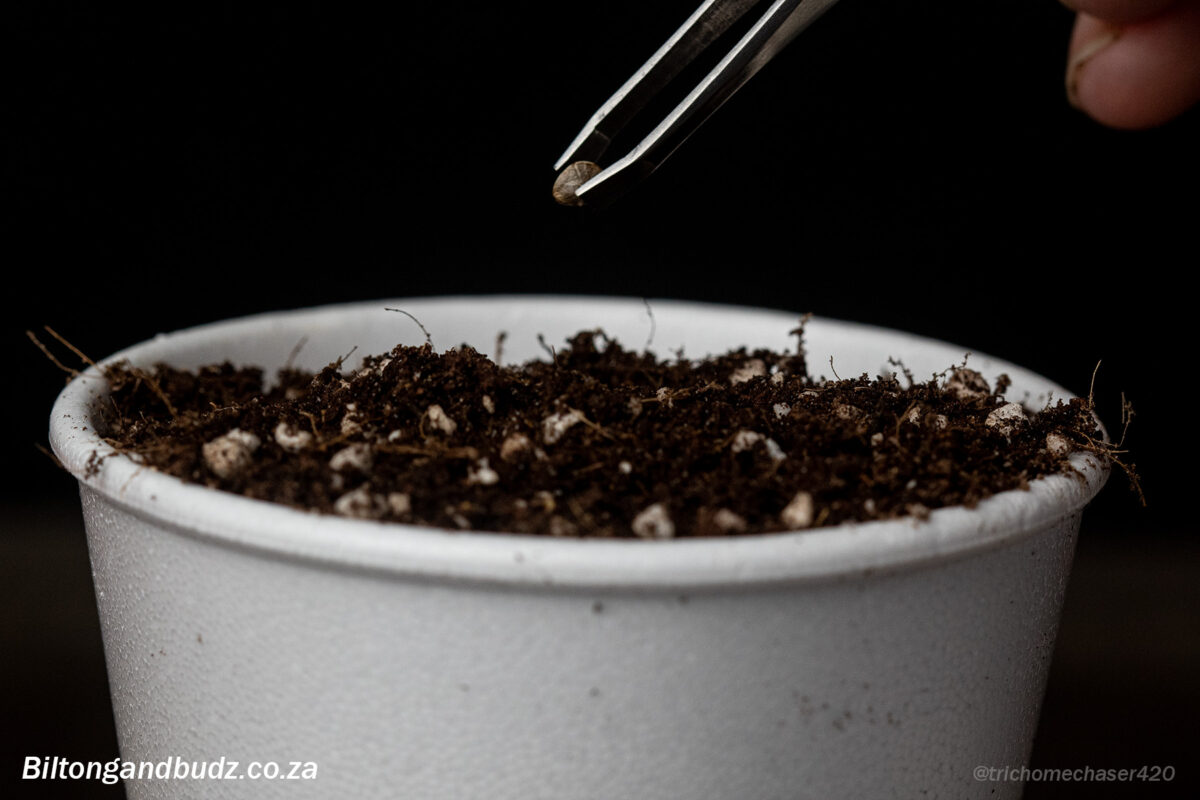
- Step 1: Dig a small hole in the medium, around 1.5cm deep, and place the seed in it.
- Step 2: Cover the seed with the medium and water it with a small amount of water (make sure not to overwater or underwater during the first week).
Common Problems You May Encounter With This Method And How To Avoid Them
While planting directly in soil has a lot of benefits, the shortfalls can often outweigh them, depending on your situation. Here are the most common problems you’re going to run into and how you can avoid them.
Overwatering / Damping-Off
Pythium is a disease that commonly occurs in overly moist environments and its telltale signs are seeds that rot before they germinate and small seedlings that collapse, with a narrowing of the stem near the base of the plant.
This is one of the most common causes of germination failure and it’s not always easy to tell that it’s what killed your seed. There isn’t always an easy visual indicator of the damage being done by Pythium, and it’s only on seedlings that the diseases become easy to identify.
To avoid this, don’t germinate seeds in an overly moist environment. Although humidity should be high in the germination process, too much stale moist air can cause Pythium to thrive. Try to keep your medium moist and try water mainly around the seed (though close enough for the water to spread to it). You should only water once the pot has started to dry out, and is around 30% to 50% desaturated in coco or 50-60% in soil.
Plant Burn / Yellowing of Leaves
If your seedling starts showing signs of burnt leaf tips or yellowing as a young seedling, it may seem like it’s hungry, but usually, this is caused by unbalanced soil and can be related to excessive nutrient availability (hot soil).
Most often I’ve found customers who encounter this problem have been using a potting mix from a horticultural store that while suitable for some plants doesn’t work well for cannabis. This is most commonly seen in bark-heavy soil mixes.
To avoid this, always go with a high-quality soil mix like Orgasoilux, Organics Matters, or Freedom Farms. These types of mixes are specifically formulated for cannabis, ensuring a well-aerated medium with balanced nutrients.
You may also see this problem if you’re growing in coco or hydro and feeding salts, but most often that problem is caused by over-feeding. To rectify, flush, and lower your feeds.
pH Imbalances
Even if you’re pH adjusting your water properly, you may still encounter pH problems, that’s because low-quality soils may be excessively acidic or alkaline and in these cases, even microbe-rich soils can lack the buffering potential needed to produce a healthy plant.
To correct this problem, ensure you’re pH adjusting your water to between 5.8 and 6.5 and that your medium is a trustworthy one, suitable for cannabis.
Pests Can Impact Seed Viability
Although not as relevant for coco, the allure of living soil is having a thriving circle of life in the soil. Microbes assist the plant to uptake nutrients, small bugs, and worms aid in the richness of the soil, etc. However, where there’s good there’s also bad and not all microscopic life is good for our seeds.
Pests in the soil can eat tap roots during germination, stopping the seed dead in its tracks.
There isn’t all that much you can do about this when planting outdoors, as you’re entering the natural world where germination rates are a fraction of those found in controlled home-grown environments. It doesn’t mean you can’t cultivate outdoors, just be aware that the environment may contain some seed-killing bugs.
To avoid this, I’d recommend starting the seeds indoors, then hardening them off to get used to the outdoor conditions (give them increasing amounts of natural light each day over several days, starting with about 15 minutes, then giving them 30 minutes and after a week you should have them ready for planting outdoors).

Jiffy Method
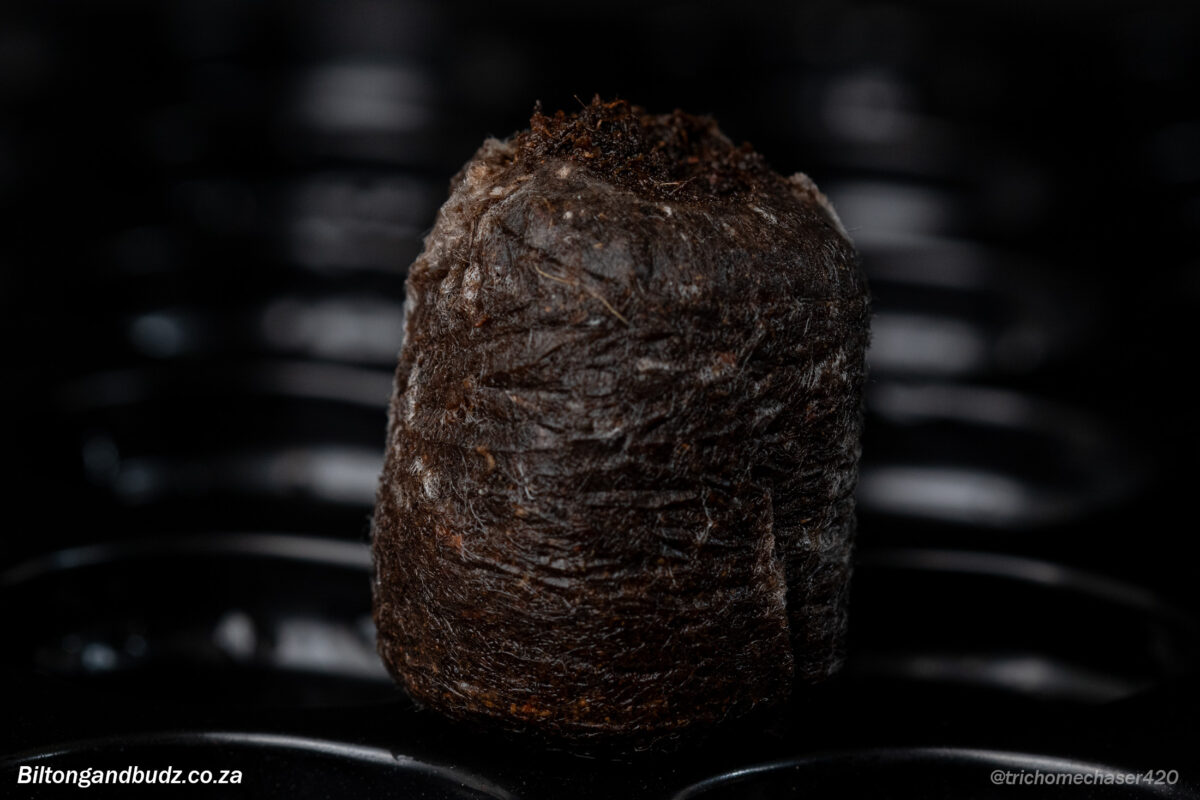
The jiffy method is another popular one. Jiffies are condensed pucks of coco coir which when introduced to water, slowly absorbing it and filling out. These pellets, while more commonly used for the rooting of clones, can also be used to germinate seeds – however, there are some caveats one needs to be aware of.
Benefits
- Great for easy transplanting.
- Usually have an ideal pH range.
- Less prone to pests than soil.
- Takes up very little space, especially when using trays.
Challenges
- Can easily cause damping off in overly moist environments.
- Retains more moisture than one thinks, which causes overwatering.
- The outer mesh often takes a long time to break down.
- Can become overly dry when trying to compensate for overwatering problems.
Step-by-Step Guide To Germinating Directly In Soil
- Step 0 (Optional): Soak the seeds in pH 5.8 to 6.5 water for between 6 and 16 hours.
- Step 1: Soak the jiffies in pH 5.8 to 6.5 water until the inner core is no longer hard and the plug is completely saturated with water.
- Step 2: Give the jiffy a gentle squeeze to remove around 20% of the water.
- Step 3: Make a small hole about 1.5cm deep in the jiffy.
- Step 4: Place the seed in the jiffy and cover the hole with some of the sides of the pellet.
- Step 5: Put the jiffies in an area with high, but not overly high humidity (70-80%), ensuring the air is not stagnant for extended periods. Also, ensure the temperature range is good (ideally between 20 and 25’C).
Common Problems You May Encounter With This Method And How To Avoid Them
When one has the routine of jiffies down, they’re a solid choice with great success rates. However, they are also one of the most temperamental methods and do require one to keep a close eye on a few of the common problems to ensure viable germination.
Damping Off / Pythium
Like with soil, jiffy pellets can cause damping-off, a disease that causes a young seedling to die. Its most diagnostic feature is a narrowing of the seed stem near the base. Damping off occurs due to excess moisture, especially in a stagnant environment.
To avoid Pythium, make sure you’re not overwatering your jiffies. After they’ve been soaked, they should be moist enough to last several days or even up to a week. Don’t rewater them until you see them starting to turn lighter and dry out – and even then, one should be careful not to saturate them too much when they start to dry out, as the young roots will struggle.
Too Much Moisture
Jiffies hold an incredible amount of water, it’s often surprising when you squeeze one and see just how much moisture a small jiffy is able to hold. This makes it easy to overwater seedlings.
Like with damping off concerns, you should only rehydrate your jiffies when they need it. When they start to lighten up in color. You don’t want to leave it too long, but when you resoak, try not to have it completely saturated, especially once roots are established, as the roots will seek moisture.
Dried Out Jiffies Resulting In Seedling Death
Because jiffy pellets are so prone to overwatering problems, many growers end up overcompensating – leaving them to dry out too much. This is a huge danger for jiffy pellets, unlike soil – there isn’t anywhere the roots can go to find moisture.
As a rule of thumb, the center of your jiffy should never be allowed to turn a light color. You should monitor the progress of the dry back and when you see it starting to dry out, rehydrate.

Water Soak Germination
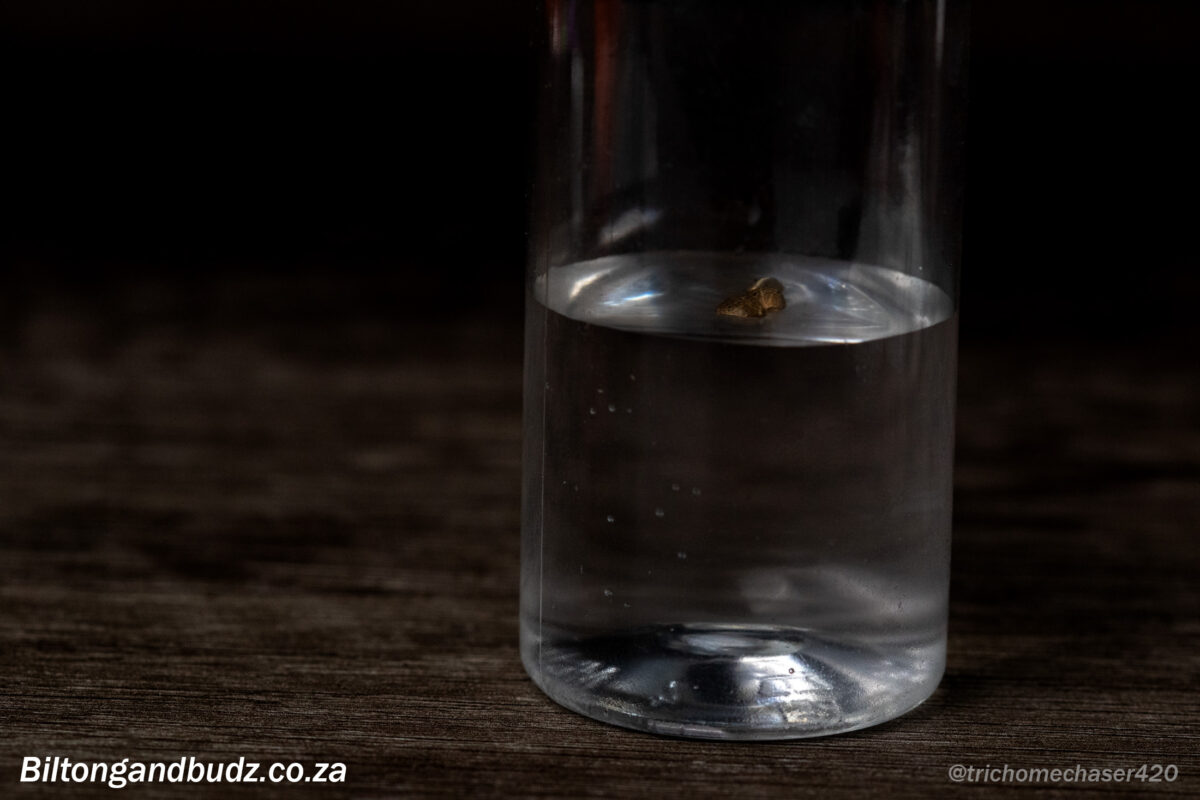
A lesser-known and practiced method of germination involves placing the seed in water and letting it sit there until a sufficient root has developed. This method can work for some seeds, but it’s prone to challenges and is the method we most commonly see germination problems reported.
Seed soaking should be limited to less than 18 hours ideally, after this an appropriate germination method should be chosen.
Here’s why it’s a good idea to avoid this method.
Lack of Oxygen In The Water
Plants need both moisture and oxygen in the root zone, this is why we ensure soils aren’t overly compact and add perlite to coco for growing. Water inherently carries a fair amount of oxygen, but that oxygen dissipates, and after 24 hours, there’s a significant drop in the amount of available oxygen in the water.
By soaking seeds for longer than 24 hours, it introduces a serious risk of complications. Sometimes the seeds drown before they are even able to grow sufficiently. Especially for older seeds that may take more than 24 hours for them to open.
Potential For Mold & Disease
Stagnant water that sits for several days can quickly become a host to waterborne bacteria and rot can start on either the seed or the root.
Low Vigor
Vigor describes the speed at which a plant grows and has an influence on the amount of veg time needed. Plants that get off to a fast start are likely to grow larger than if they hadn’t, which can result in better growth and yields.
When starting a seed solely in water, there isn’t the same rapid root growth. That’s because the roots don’t need to seek moisture, as they’re saturated in it. And secondly, it’s because the reduced oxygen reduces the strong early growth we look for.
Conclusion
In summary, there are a few different ways to germinate cannabis seeds, but they each come with their own set of benefits and drawbacks. We hope this article gives you sufficient insight into increasing your germination rate. If you’re interested in a germination method that we didn’t cover, let us know in the comments.

